Contour of the Keys
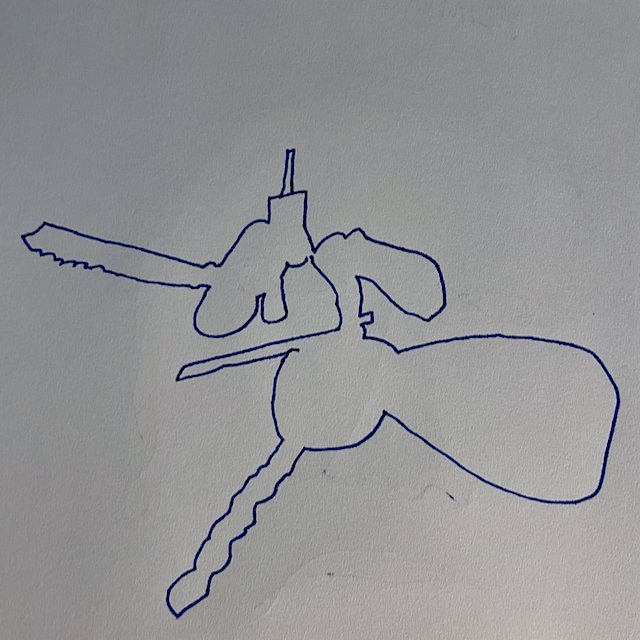
A contour drawing focuses on the edges of the object. Today’s exercise was to draw the contour of your keys without lifting your pen. The focus is on developing confident lines.
Doing it in pen, in this case, a Pilot Prera fountain pen) allows me to focus on the lines; there is no erasing or “starting over.”
After I set the contours, I went back and added the details. Excellent enjoyable exercise to start a Saturday morning.
Blind Contour by Feel
Today’s exercise was a blind contour by feel selfie. You place your finger on your nose, move around your face, and have your hand follow along. I like how my eyes are aligned and feel confident with my lines.
Another interesting exercise to develop confidence in my lines.
Blind Contour Drawing
Back to basics today.
I’m starting the Six-week Art Bootcamp class at Sketchbook Skool. This course is exciting. We start with pen and pencil on paper and work with colored pencils and watercolors.
Fun and exciting. I am looking forward to it. Today we completed a blind contour drawing. This technique is where you look at the subject only and let your hand follow your eyes.
I heard an excellent comment from author Neil Gaiman about writing in a new book, which is equally relevant to a new sketchbook. Remember, everything can be fixed except for a blank page. Draw on!
Water bottle
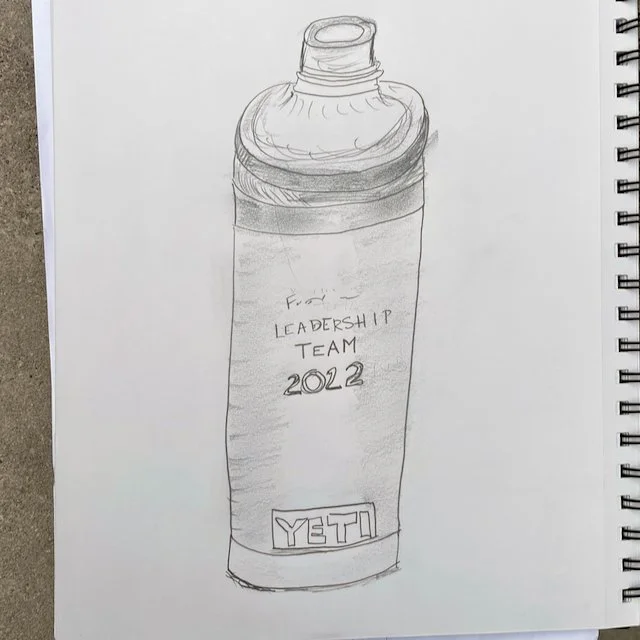
Here is a sketch of my personalized water bottle. It has been a while since I drew and posted something. I was thinking about where the friction has come from. As I have gone from pure novice to amateur, I have built unnecessary expectations. When you are a novice, you have no expectations and don’t self-judge what you are doing; you do it. When you arbitrarily cross over to amateur, you somehow develop expectations that lead to friction. Now I’m feeling somewhat disappointed in my drawings when I haven’t been practicing for very long.
Watch out for this arbitrary shift and the related increased expectations. The friction is not worth it.
Cup
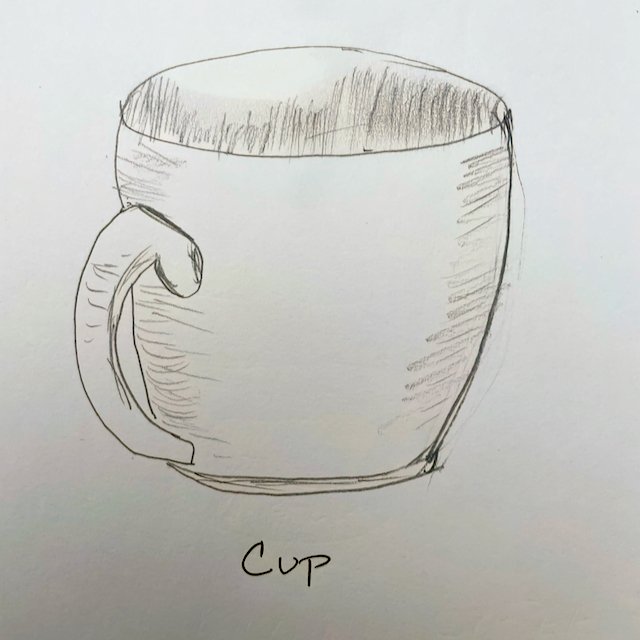
I’m happy with the perspective on the cup’s top. I used the pencil measuring technique to measure the ellipse. The length vs. depth of the ellipse is much greater than your brain says it should be. That was key to getting the correct perspective. Today feels like a breakthrough day for me.
The overall balance of the cup’s sides is good. I am making progress one day at a time.
Live Portrait Model
Drawing a two-dimensional portrait out of a book is tough, but a three-dimensional model is even more challenging.
You have the left brain interfering and dictating what you should see and draw, and your right brain trying to draw what you see. Putting all the learnings into practice is challenging. Therefore, this is a learned skill, not a God-given talent you have or don’t have.
It is tough, but I am continuing to work through it. I think I have made a 1% improvement from yesterday’s drawing to today.
The Office Corner
Today’s sketch focuses again on the perspective skill. Using the picture plane, I drew my Basic Unit (the Formula One photography on the left of the corner) on my picture plane and then transferred that to my shaded paper.
From there, I drew the remaining elements. I’m happy with how I could draw the view to scale and didn’t run out of space on the page. Most everything in the view was captured to scale.
1% improvement!
The Corner
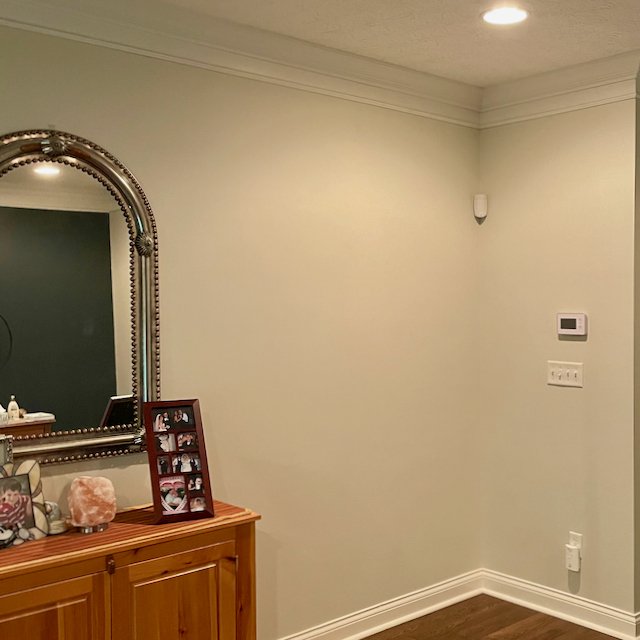
Today’s sketch focused on sighting the angles in a room corner with just a pencil. First, I drew the central vertical line, which always remains vertical regardless of the viewing angle. And then, using my pencil, I visually saw the angle for the floor and ceiling with the vertical corner.
Getting good and working these angles and tricking my left brain, which is convinced the lines are straight.
Focused on constant improvement day by day,
Apples on the Counter
Although a simple setup, today’s sketch offers the ability to so depth with a three-dimensional object and volume by showing the shadows with the paper towel under the apples and shadows from the apples.
I need to continue to work on all three, and utilizing a simple countertop setup like this will always give me the opportunity.
Studies of Arms and Legs
This sketch combined negative spaces and an upside-down drawing. Reinforced practice is good. Using Rubens’ sketch “Studies of Arms and Legs,” I utilized both techniques. I think it went well. Not an exact reproduction, but looks good.
I am still working through the skills and drills from Betty Edwards’ Drawing on the Right Side of the Brain.
Dining Room Chair
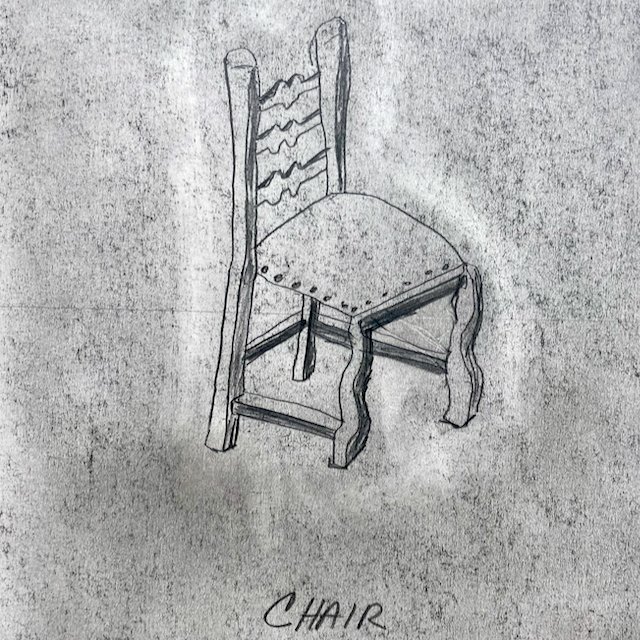
This sketch was focused on negative spaces and developing the skills to see negative spaces. I picked what Betty Edwards in Drawing on the Right Side of the Brain calls a basic unit. I used the square on the bottom of the chair as my basic unit.
Using my picture plane, I framed the chair and drew the basic unit square on the plane. Then, I could transfer the basic unit’s location to my page using the grid lines. Finally, correctly placing the basic unit on the paper, I completed the rest of the chair.
I’m happy with the drawing and, more importantly, pleased with the progress I am making. Again, small steps focused on incremental improvement.
Enjoy!
Pizza Box
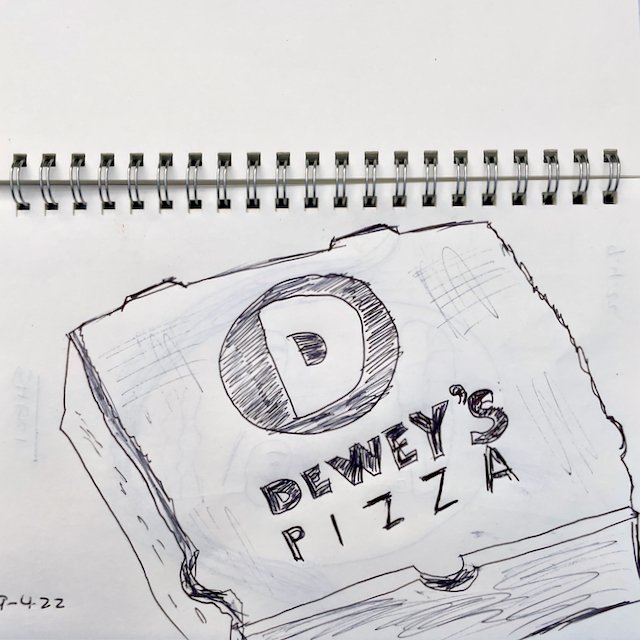
Originally I sketched my wife at dinner. But unfortunately, I didn’t get clearance to post that drawing! So I drew the take-home pizza box—a simple box with the logo. Good sketch.
It pays to take a sketchbook with you wherever you go. I keep an inexpensive book in the car for just these occasions.
Let me know what you think in the comments below.
Three Potatoes
Today I wanted to try a live scene with directional lighting. So I set up three potatoes and my flashlight to provide specific directional lighting. I’ve included the original setup and my drawing. I am still working on getting the roundness of the potatoes, the surface texture, and the shadows, all with a fountain pen.
What do you think? Let me know in the comments below.
Backyard Flowers
This backyard flowers sketch was the first drawing I have done from a picture. I enjoyed the experience knowing it was from an image I captured in my backyard. A bit of farm to table. I enjoyed taking a bit of creative license with the vision and not focusing on recreating the image.
Also, my most crucial fan and critic could easily recognize the sketch as flowers. For some reason, that matters!
Picture Plane – another hand
Practice, practice, practice. I can focus on getting confident with my lines, angles, and details. Using the picture plane allows me to focus on seeing my three-dimension hand in two dimensions. I can disconnect from the hand and fingers and focus on the lines, space, and negative space.
Good practice sketch.
Picture Plane Practice - Hand
This is another hand sketch with the picture plane. Practice brings repetition, and I enjoy focusing on the lines, angles, and negative space, not that I am drawing a hand. It works as I focus on using my right brain and excusing my left dominant brain.
Enjoy
Hand–Modified Pure Contour Drawing
With today’s assignment, we used the hand from the picture plane and essentially drew that image onto sketching paper. I shaded the paper using charcoal and then drew the hand off the original drawing on the picture plane.
This was the first time using charcoal and another skill that I could develop.
It adds dimensionality to the drawing. Also, the details of the lines and shadows of my hands are seen.
A great drawing that I am happy with.
Fun in the Kitchen
Sunday’s sketches were from the book How to Draw and Write in Fountain Pen. I captured a bunch of kitchen-themed images with my fountain pen—an excellent way to spend a Sunday afternoon doodling and practicing.
I hope you enjoy it!
The Hand on the Picture Plane
Today’s assignment was to draw my hand in foreshortened view using a glass picture plane. This technique/learning tool was created back in the 1400s. This tool helps you see and draw a three-dimensional item on a two-dimensional plane.
It is unbelievably easy to trace my hand on the glass. It was interesting to me how the glass eliminated the stress and angst of trying to capture the depth of my hand. Instead, I focused on the lines and outside map of my hand and watch—a great learning experience.
I picked up a discount picture frame and a few cheap mats at the craft store—an inexpensive, practical glass picture plane.
Upside Down Man for the Third Time
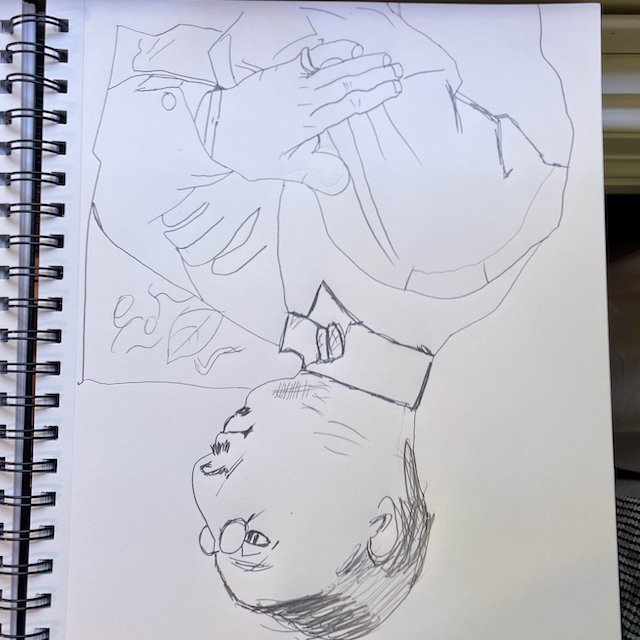
Repetition. One more upside-down drawing to work on the right side of the brain. Progress.
Small wins include feeling more comfortable with the fingers. This is big as even upside down. My brain knows I am drawing fingers. It is much harder to trick my brain into focusing on lines and angles.

