Practice Needs a Purpose
Practicing drawing needs a purpose. Likewise, practicing football, baseball, and the violin requires a purpose. So before you start any practice, you need to be clear on your purpose.
Purpose lets you experience total satisfaction. When you know what you are practicing for, you have clarity when you are done that you either achieved the objective or understand what you need to do next time to complete your purpose. Either way, you get feedback.
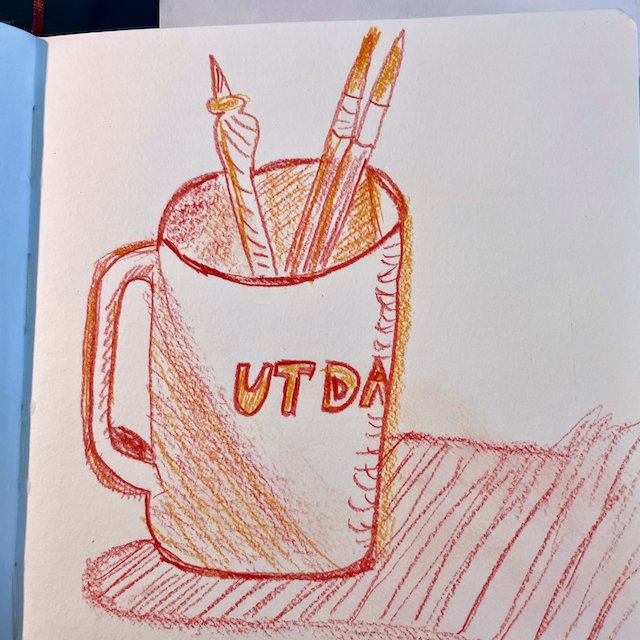
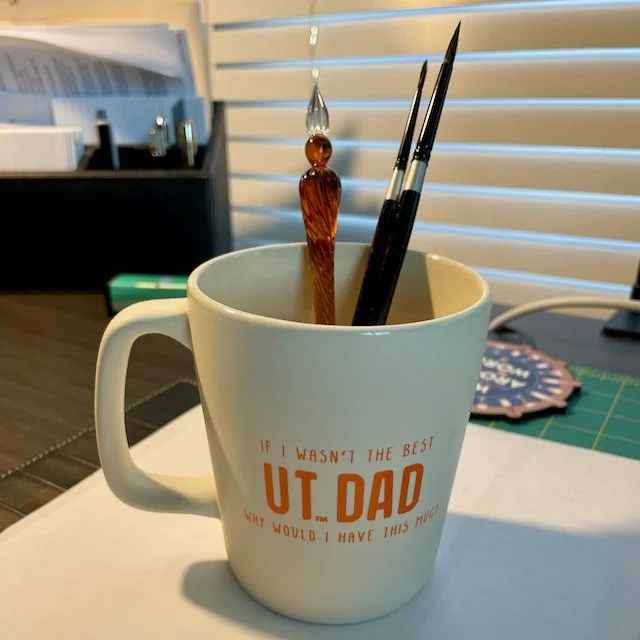
Today's drawing focused on using colors on the same side of the color wheel to create a sketch.
Not using the "actual" colors of the object but just picking two colors to draw. I achieved that objective. This drill will allow me to think beyond the object's color and more toward a fun, exciting color pallet.
What is your purpose for doing something today?
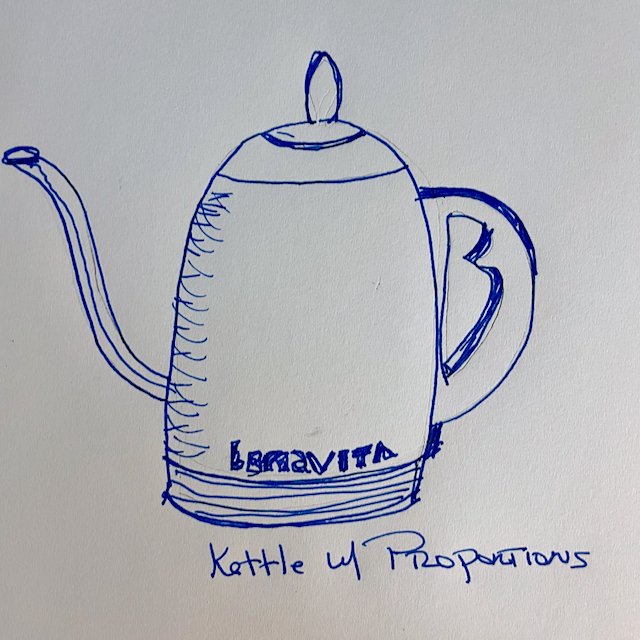
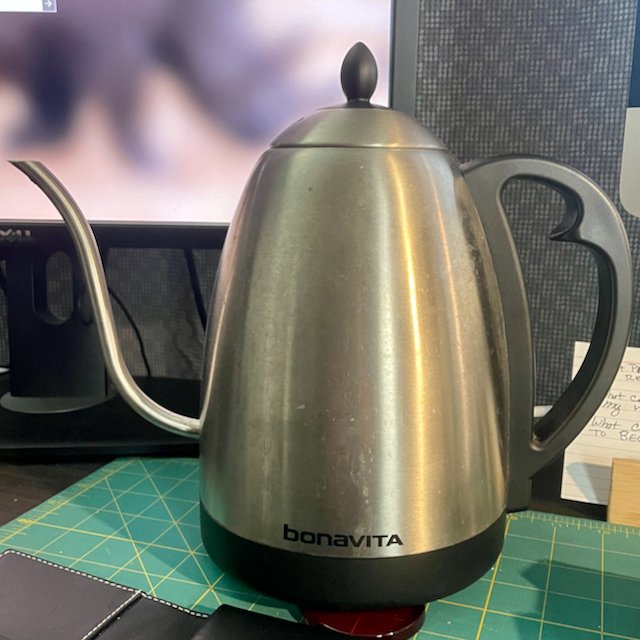
Water Kettle with Proportions
There are techniques to help with drawing subjects in proportion. Using your pen/pencil at eye level is a method to help determine ratios. For example, I used my pen to line up the kettle's total height, the spout's height, and how far the handle extends from the body.
This drawing seems to be in proportion and resembles the real thing.
Manager Vinylmation
Today’s drawing was fun. Using two pen sizes, I created my interpretation of the Manager Vinylmation. It was fantastic to free-hand the Vinylmation’s contours and then use the fountain pen to add the details.
Mix it up as you work on your drawing and art skills.
Challenge yourself and take advantage of all the tools you have
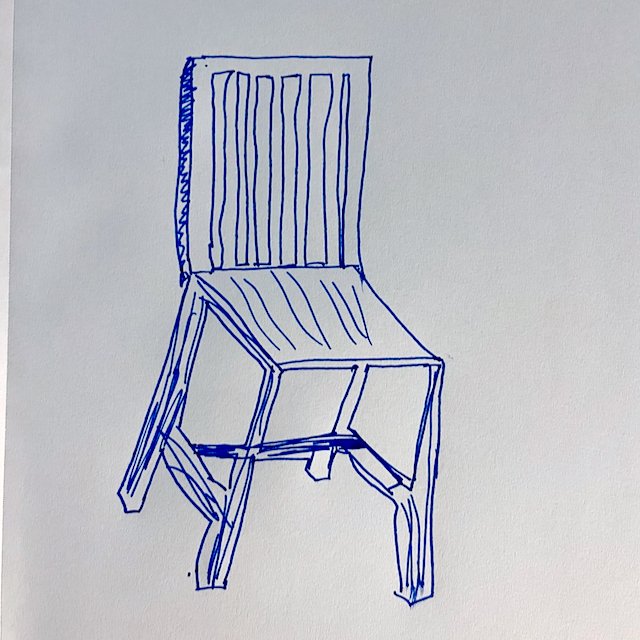
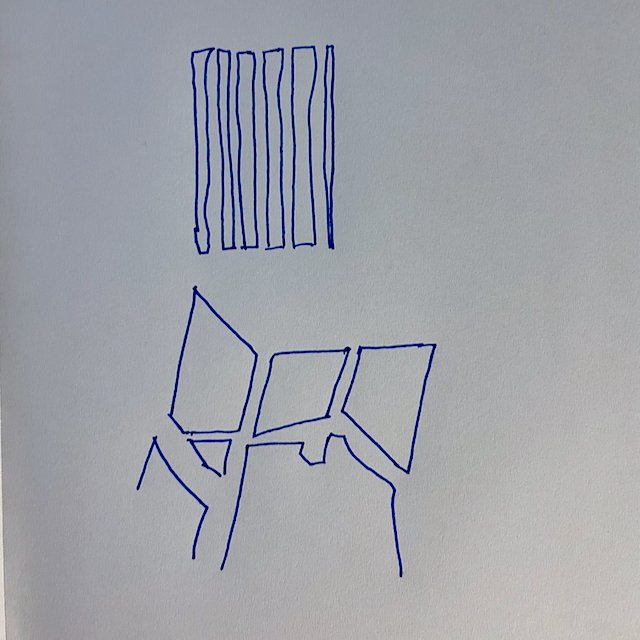
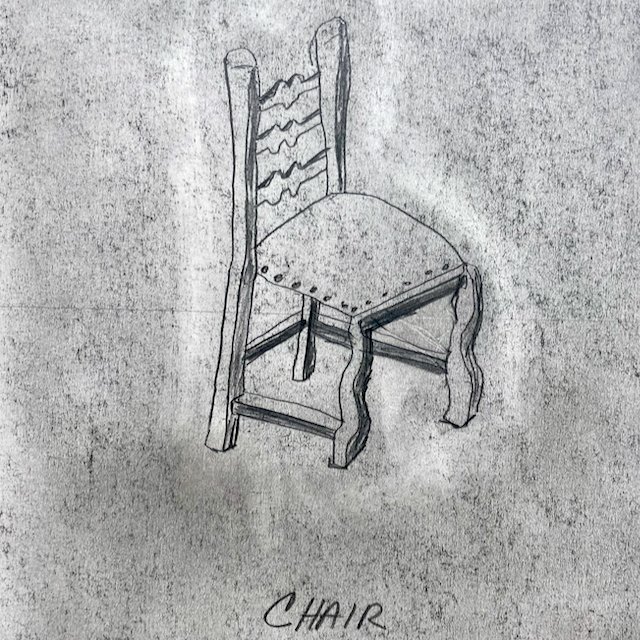
Chair – Negative Space
When you have a complicated subject to sketch, an effective technique is to draw the negative space. You focus on the open spaces and draw those rather than the intricate details of the subject—an effective way to draw on the right side of your brain and to trick your left side.
Today’s chair drawing was completed using this technique. Not perfect, as I still got caught up in the left side of my brain “telling me” what I saw. The chair leans, but I am getting better at showing perspective.
1% improvement every day.
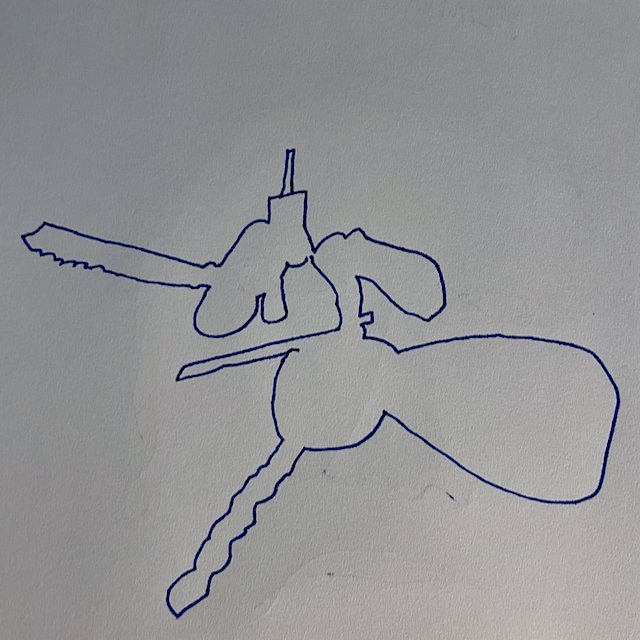
Contour of the Keys
A contour drawing focuses on the edges of the object. Today’s exercise was to draw the contour of your keys without lifting your pen. The focus is on developing confident lines.
Doing it in pen, in this case, a Pilot Prera fountain pen) allows me to focus on the lines; there is no erasing or “starting over.”
After I set the contours, I went back and added the details. Excellent enjoyable exercise to start a Saturday morning.
Blind Contour Drawing
Back to basics today.
I’m starting the Six-week Art Bootcamp class at Sketchbook Skool. This course is exciting. We start with pen and pencil on paper and work with colored pencils and watercolors.
Fun and exciting. I am looking forward to it. Today we completed a blind contour drawing. This technique is where you look at the subject only and let your hand follow your eyes.
I heard an excellent comment from author Neil Gaiman about writing in a new book, which is equally relevant to a new sketchbook. Remember, everything can be fixed except for a blank page. Draw on!
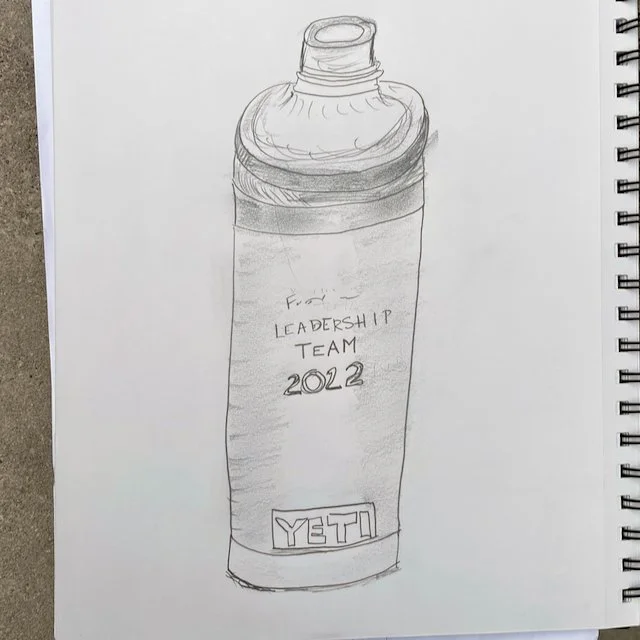
Water bottle
Here is a sketch of my personalized water bottle. It has been a while since I drew and posted something. I was thinking about where the friction has come from. As I have gone from pure novice to amateur, I have built unnecessary expectations. When you are a novice, you have no expectations and don’t self-judge what you are doing; you do it. When you arbitrarily cross over to amateur, you somehow develop expectations that lead to friction. Now I’m feeling somewhat disappointed in my drawings when I haven’t been practicing for very long.
Watch out for this arbitrary shift and the related increased expectations. The friction is not worth it.
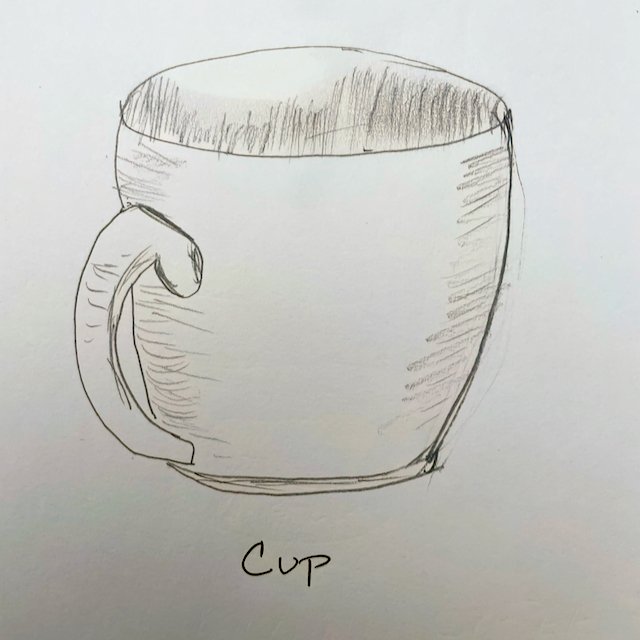
Cup
I’m happy with the perspective on the cup’s top. I used the pencil measuring technique to measure the ellipse. The length vs. depth of the ellipse is much greater than your brain says it should be. That was key to getting the correct perspective. Today feels like a breakthrough day for me.
The overall balance of the cup’s sides is good. I am making progress one day at a time.
Morning Coffee
Here is a sketch of my morning coffee. I am still working on the perspective of the top. Still too round and doesn’t give the depth of the angle. I now realize this is my left brain telling me what I am seeing and what I should draw. Next time I need to use the picture plane to get it into a two-dimensional view.
The Office Corner
Today’s sketch focuses again on the perspective skill. Using the picture plane, I drew my Basic Unit (the Formula One photography on the left of the corner) on my picture plane and then transferred that to my shaded paper.
From there, I drew the remaining elements. I’m happy with how I could draw the view to scale and didn’t run out of space on the page. Most everything in the view was captured to scale.
1% improvement!
Vanishing Point down the Hallway
The vanishing point is a crucial tenant of drawing with the proper perspective. Understanding how the vanishing point works and how the straight lines converge down from above to the vanishing point and up to the vanishing point from below.
This plays havoc with your left brain because it knows these are straight lines. So forcing your left brain to give up and letting your right side brain take over and draw to the vanishing point is vital.
I have some work to do.
Dining Room Chair
This sketch was focused on negative spaces and developing the skills to see negative spaces. I picked what Betty Edwards in Drawing on the Right Side of the Brain calls a basic unit. I used the square on the bottom of the chair as my basic unit.
Using my picture plane, I framed the chair and drew the basic unit square on the plane. Then, I could transfer the basic unit’s location to my page using the grid lines. Finally, correctly placing the basic unit on the paper, I completed the rest of the chair.
I’m happy with the drawing and, more importantly, pleased with the progress I am making. Again, small steps focused on incremental improvement.
Enjoy!
Three Potatoes
Today I wanted to try a live scene with directional lighting. So I set up three potatoes and my flashlight to provide specific directional lighting. I’ve included the original setup and my drawing. I am still working on getting the roundness of the potatoes, the surface texture, and the shadows, all with a fountain pen.
What do you think? Let me know in the comments below.
Backyard Flowers
This backyard flowers sketch was the first drawing I have done from a picture. I enjoyed the experience knowing it was from an image I captured in my backyard. A bit of farm to table. I enjoyed taking a bit of creative license with the vision and not focusing on recreating the image.
Also, my most crucial fan and critic could easily recognize the sketch as flowers. For some reason, that matters!
Picture Plane – another hand
Practice, practice, practice. I can focus on getting confident with my lines, angles, and details. Using the picture plane allows me to focus on seeing my three-dimension hand in two dimensions. I can disconnect from the hand and fingers and focus on the lines, space, and negative space.
Good practice sketch.
Picture Plane Practice - Hand
This is another hand sketch with the picture plane. Practice brings repetition, and I enjoy focusing on the lines, angles, and negative space, not that I am drawing a hand. It works as I focus on using my right brain and excusing my left dominant brain.
Enjoy
Hand–Modified Pure Contour Drawing
With today’s assignment, we used the hand from the picture plane and essentially drew that image onto sketching paper. I shaded the paper using charcoal and then drew the hand off the original drawing on the picture plane.
This was the first time using charcoal and another skill that I could develop.
It adds dimensionality to the drawing. Also, the details of the lines and shadows of my hands are seen.
A great drawing that I am happy with.
The Hand on the Picture Plane
Today’s assignment was to draw my hand in foreshortened view using a glass picture plane. This technique/learning tool was created back in the 1400s. This tool helps you see and draw a three-dimensional item on a two-dimensional plane.
It is unbelievably easy to trace my hand on the glass. It was interesting to me how the glass eliminated the stress and angst of trying to capture the depth of my hand. Instead, I focused on the lines and outside map of my hand and watch—a great learning experience.
I picked up a discount picture frame and a few cheap mats at the craft store—an inexpensive, practical glass picture plane.
Pure Contour Drawing - The Hand
Pure Contour Drawing – The Hand
An essential drill to help people develop their drawing skills was introduced in 1941 by Kimon Nicolaides; contour drawing. This drill helps build your skill in seeing the edges and contours of your subject.
In Drawing on the Right Side of the Brain, Betty Edwards modified the contour drawing into the pure contour drawing. Her drill has you looking at a subject, in this case, my left hand, and placing my other hand and pencil on the paper. I started the timer for five minutes and ONLY looked at my left hand. I followed the crevices and contours of my hand with my eyes and allowed my drawing hand to “follow” my eyes on the page.
Your outcome is a record of your perceptions of the creases in your palm, not a beautiful sketch of your hand.

